Pottery on the Wheel at Nila Clay Studio

Learn the art of throwing clay onto the wheel of a potter.

At Nila Clay Studio, every creation begins with raw clay and a passion for handmade artistry. Each piece is carefully shaped by hand, inspired by traditional pottery techniques and finished with thoughtful craftsmanship.

Let the clay rise between your fingers, then center it in a perfect way, then draw into beautiful shapes like cups, bowls, vases and more. There’s something deeply relaxing and enjoyable that comes from the experience. A lot of our students report that their first wheel experience is exciting and calming.

Have any queries?

    Contact Our Office

    Visit our Office Branch
    800 Nicollet Mall, Minneapolis, MN 55402, United States
    Call Us

    What You’ll Learn in Pottery on the Wheel

    No prior experience is required. Our friendly instructors guide you step by step with patience and encouragement.

    Session Options

    Introductory wheel experience
    (90–120 minutes)

    Perfect for first timers and small groups.

    • Make 1–2 pieces on the wheel
    • Take your bisque fired creations home (or choose glazing option)
    • Ideal for individuals, couples, friends or family

    Beginner wheel series
    (4–6 sessions)

    • Build real skill over multiple classes.
    • Progress from basic centering to more refined shapes
    • Learn glazing and surface decoration
    • Take home 4–6 finished pottery pieces

    Wheel Throwing Techniques

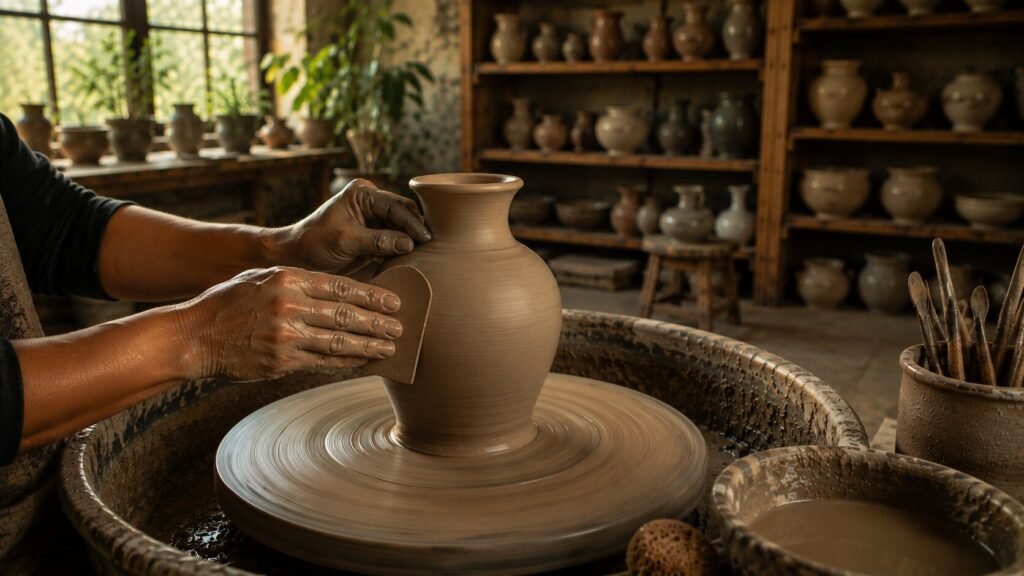
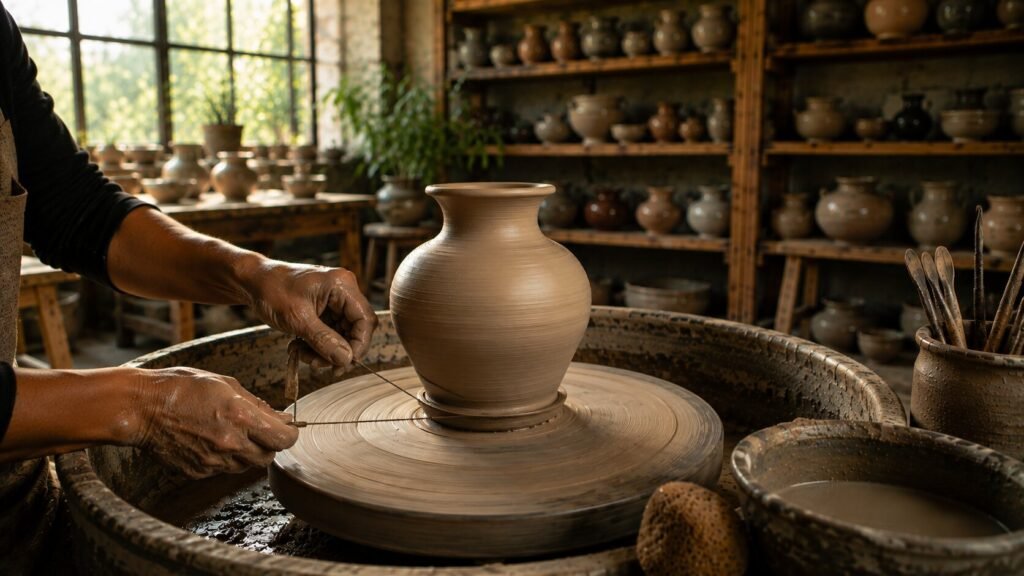
    Master the Art of Pottery on the Wheel at Nila Clay Studio, Kochi

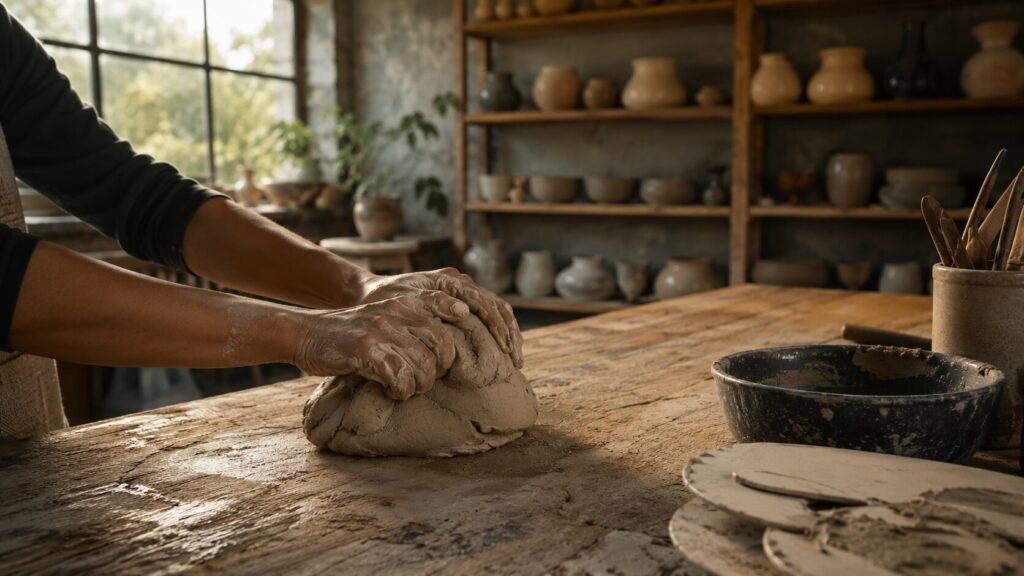
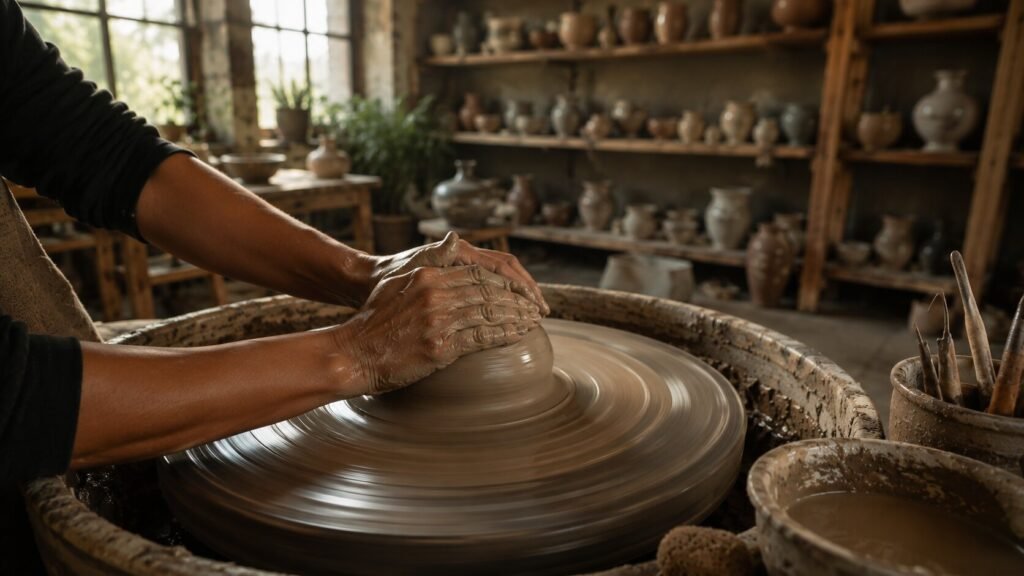
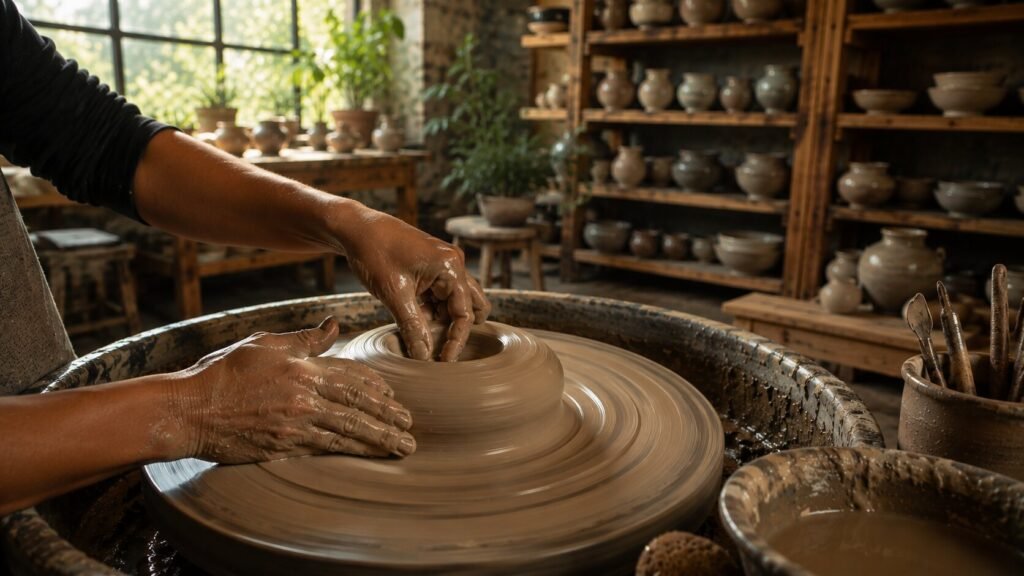
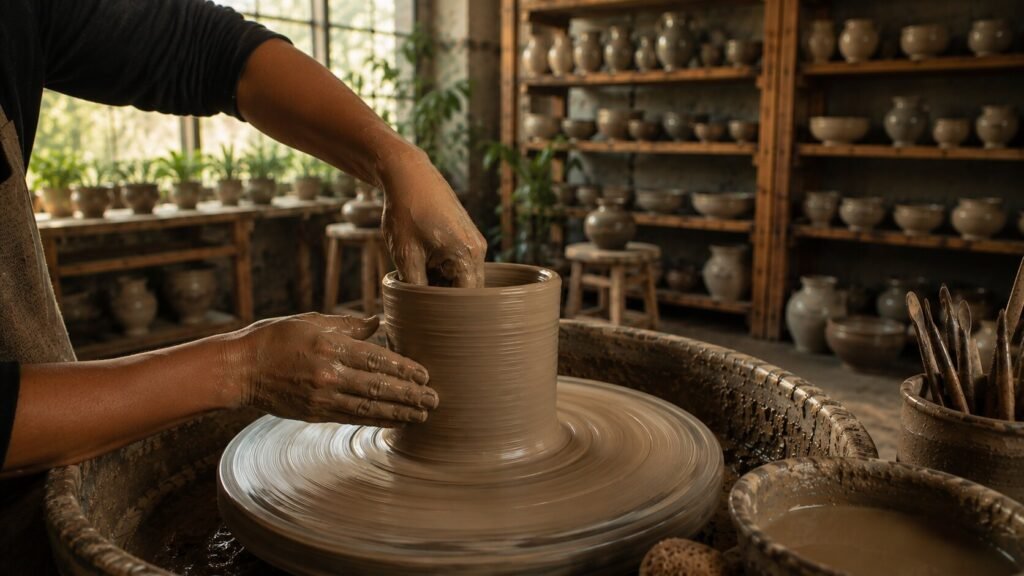
    The wheel throwing process is a stunning technique of shaping clay into useful and artistic shapes with a spinner’s wheel. It is a combination of skills, perseverance and a little meditation. Then, at Nola Clay Studio, we go through the steps to help even complete novices create beautiful pieces such as bowls, mugs, vessels, vases, and cylinders.

    This is a concise explanation of the fundamental wheel throwing methods you’ll learn during our classes:

    Before anything can touch the wheels clay has to be prepared correctly. Wedging eliminates air bubbles making the clay workable and uniform. We rub and slam the clay in order to bring its particles into alignment and prevent cracking later. Tips: Start with 500g-1kg of clay for the beginning. A well-wedged ball is silky and elastic.

    This is the foundation of wheel throwing. A centered piece of clay spins perfectly without wobbling everything else depends on this step.

    • Slam the clay ball firmly onto the center of a bat (or wheel head).
    • With the wheel spinning at medium to high speed use your hands (often one inside and one outside) to push and shape the clay into a symmetrical dome or cone.
    • Many potters use coning pulling the clay up into a tall cone and pressing it back down several times. This further aligns the clay and makes centering easier.

    Pro Tip: Lean your body weight into the clay keep elbows braced against your body or hips for stability, and move your hands slowly and smoothly. The wheel should spin faster during centering.

    Once you are centered, design the inside of your boat.

    • Get your hands wet and apply the thumb (or fingers) gently into the center of the clay, while your wheel turns.
    • Then push downwards and outwards to create a hole, then expand it to form an oval-like donut.
    • Press the base down to make it more solid and even.

    Maintain the wheel at an appropriate speed. Consistent, gentle pressure is crucial because rushing can cause damage to the clay off center.

    This is where the pot begins to expand!

    • One hand is inside the vessel and another, supporting the outside, gently push and squeezing the clay upwards in a smooth manner.
    • Start at the bottom of the wall and work your way up, spreading the walls as you move up.
    • The wheel’s speed decreases as the pot grows higher. Always be sure to move your hands more slowly than the wheel spins.

    Repeat the pull 3 times to create smooth walls. Make sure to press the rim often to stop it from exploding or collapsing.

    The creative process begins:

    • Make use of your fingers or a rib tool or a sponge to shape the potto, curve it into an oval and straighten it to form an oblong shape, or turn it into a vase.
    • Collapsing (gently pressing the top upwards) aids in regulating the shape.
    • Make sure that everything is wet, and not too slippery. A small amount of slide (clay-water mixture) aids in gliding your hands.
    • Smooth the edges using an edging bristle or.
    • Cut the base using a wire tool as the wheel turns slowly.
    • Lift your completed piece, and then set it aside for it to air dry (leather-hard stage) prior to the trimming or glazing.

    Before anything can touch the wheels clay has to be prepared correctly. Wedging eliminates air bubbles making the clay workable and uniform. We rub and slam the clay in order to bring its particles into alignment and prevent cracking later.

    Tips: Start with 500g-1kg of clay for the beginning. A well-wedged ball is silky and elastic.

    This is the foundation of wheel throwing. 

    • Slam the clay ball firmly onto the center of a bat (or wheel head).
    • With the wheel spinning at medium to high speed use your hands (often one inside and one outside) to push and shape the clay into a symmetrical dome or cone.
    • Many potters use coning pulling the clay up into a tall cone and pressing it back down several times. This further aligns the clay and makes centering easier.

    Once you are centered, design the inside of your boat.

    • Get your hands wet and apply the thumb (or fingers) gently into the center of the clay, while your wheel turns.
    • Then push downwards and outwards to create a hole, then expand it to form an oval-like donut.
    • Press the base down to make it more solid and even.

    This is where the pot begins to expand!

    • One hand is inside the vessel and another, supporting the outside, gently push and squeezing the clay upwards in a smooth manner.
    • Start at the bottom of the wall and work your way up, spreading the walls as you move up.
    • The wheel’s speed decreases as the pot grows higher. Always be sure to move your hands more slowly than the wheel spins.

    The creative process begins:

    • Make use of your fingers or a rib tool or a sponge to shape the potto, curve it into an oval and straighten it to form an oblong shape, or turn it into a vase.
    • Collapsing (gently pressing the top upwards) aids in regulating the shape.
    • Make sure that everything is wet, and not too slippery. A small amount of slide (clay-water mixture) aids in gliding your hands.
    • Smooth the edges using an edging bristle or.
    • Cut the base using a wire tool as the wheel turns slowly.
    • Lift your completed piece, and then set it aside for it to air dry (leather-hard stage) prior to the trimming or glazing.

    Why Choose Pottery on the Wheel at Nila Clay Studio, Kochi?

    Experience the Joy, Calm, and Creativity of Wheel Throwing In this fast-paced, modern world, a pottery wheel is a unique experience, the chance for you to slow your pace, be in touch with your hands and create something stunning out of the earth's raw. At Nola Clay Studio in Kochi we believe that wheel throwing is among the most enjoyable ways to explore the art of pottery. This is why thousands of people are opting for wheel throwing (and the reason why you should, too):

    It's Deeply Meditative and Stress-Relieving

    The pulsing spin on the wheels, the chilly feel of clay that is wet under your fingers, and the centered repeating of pulling and centering make for a natural meditation practice. Many call it “better than a spa day.” The phone is not there, your anxieties go away and you are present. It’s calming, relaxing and is a proven method to decrease stress and increase happiness and mental wellbeing.

    Perfect for Beginners — No Experience Needed

    There is no need for the ability to draw or any previous skills. Our skilled instructors will help you through the steps of centering, opening, opening, pulling walls and shaping. After your first session, you’ll usually leave with a unique bowl or mug. The feeling of accomplishment is instant and addicting!

    Creates Functional & Beautiful Pottery

    Contrary to the purely sculptural method, wheel throwing is a masterclass in creating elegant, symmetrical and useful pieces — such as mugs that are comfortable when you hold them or bowls with elegant curves and vases that lighten your living space. Once you have mastered the basics and techniques, you can create multiple identical pieces with ease.

    Tips for Your First Pottery Wheel Session

    Beginning something new may feel somewhat uncertain, but pottery making on the wheel is about accepting it and not aiming for perfection. Wear clothes you wouldn’t want to get a bit dirty and make sure your nails are kept clean to give you more control when creating the clay. The most important thing is to be calm and patient. Centering the clay requires practice and even the most experienced potters can’t achieve perfection every time.

    Be attentive to your instructor hold your hands steady and don’t rush the procedure. The wheel is a rhythmic machine and once you get to it, everything begins to seem more natural. Many beginners are amazed by the speed at which they can make their first cup or bowl. Be open minded and enjoy the process, then let your clay take the lead.

    Frequently Asked
    Questions

    No previous experience is necessary. Our workshops are intended for complete novices. Our instructors will be able to show you the steps step by step. A majority of people complete their first masterpiece within the first lesson!

    • Introduction to Training: 2.5 to 3 hours
    • Multiple-session course 4 to 8 months (2-3 hour sessions)
    • Couple/Private Sessions Duration: Customized (2-4 hours)
    • Our groups are smaller and personal (maximum 6-8 people) to ensure everyone receives plenty of guidance from a personal source and time on the wheel.

    Our pricing is intended to be competitive and well-priced. Rates currently in effect (as as of 2026):

    • One-Day Introduction Training (2.5-3 minutes) Prices range from Rs1,200 – 1 800 per participant (Includes all the materials, instruction and firing of up to 1 or 2 pieces)
    • A Couple’s Personal Session (2-3 hour) Between Rs2,500 and 3500 for two persons
    • 4-Week Beginning Training (8 Sessions) The cost range is Rs7500 to Rs9500. (More wheel time and firing of several pieces)
    • 6- 8 Week Program Cost: Rs12,000 to Rs15,000 (recommended to build real-world capabilities)
    • Open Studio Drop-in wheel time between Rs600 and Rs800 for a 2-hour time period (for new students)
    •  
    • There is no. Firing and glazing of the art pieces you create during the course or session will be part of the price in the price (up to a certain number or size of items). Larger or more elaborate items may incur an additional fee for firingwe’ll let you know beforehand.